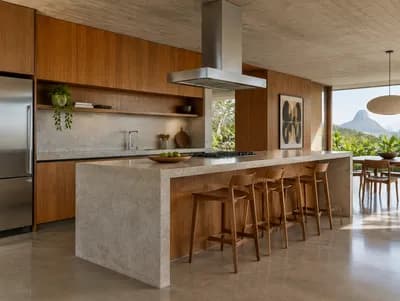
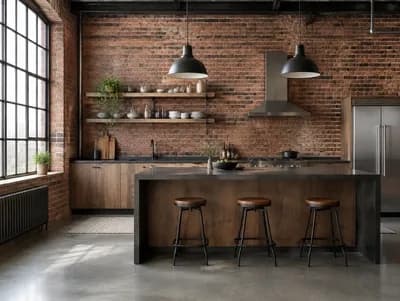
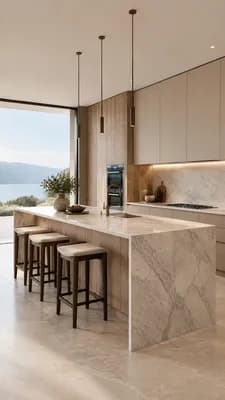
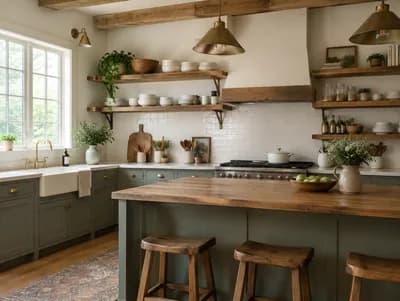
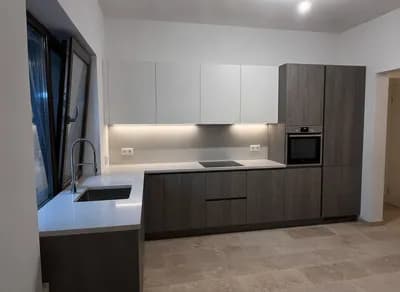
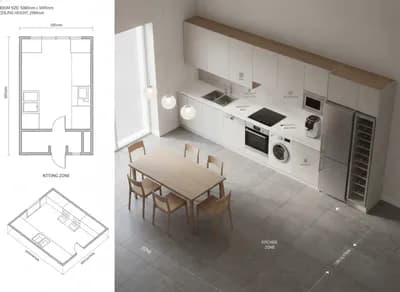
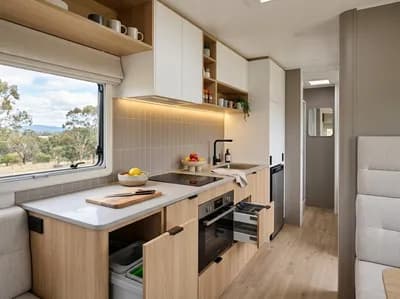
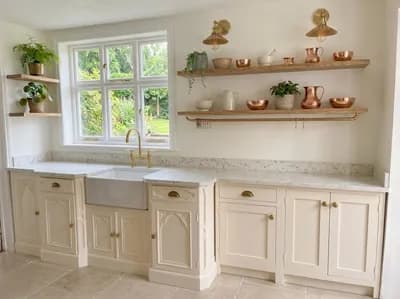
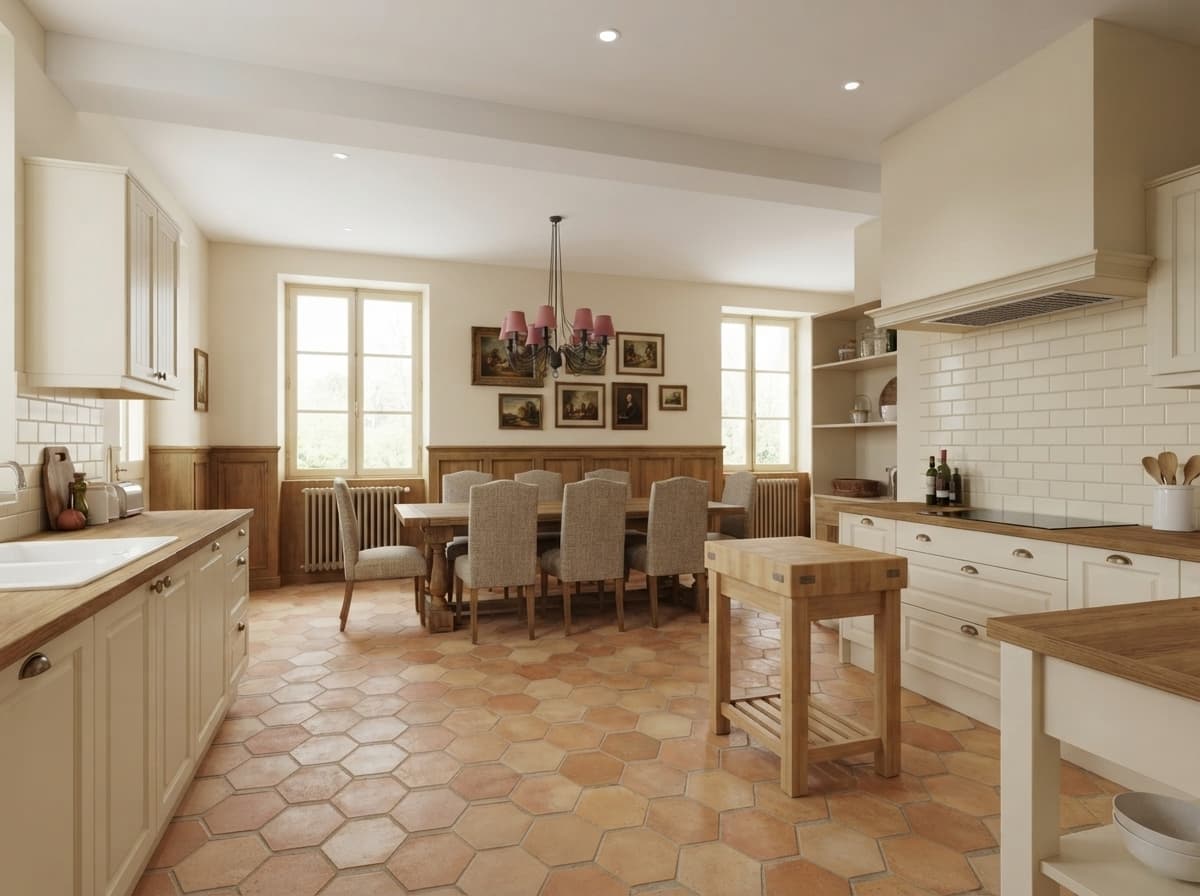
Stylish Open-Plan Kitchen and Dining Area
Find products from this interior
Lighting, furniture, and decor - with prices and links to stores

Design Brief
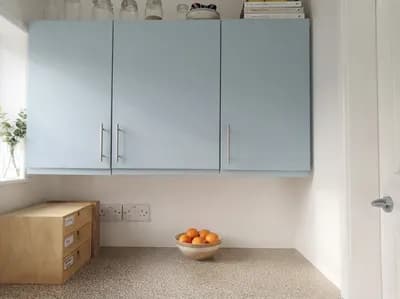
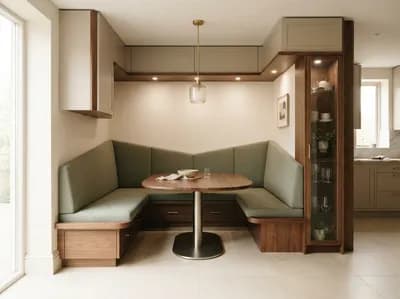
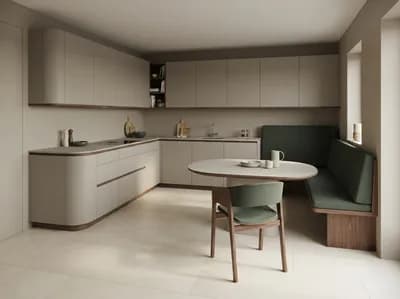
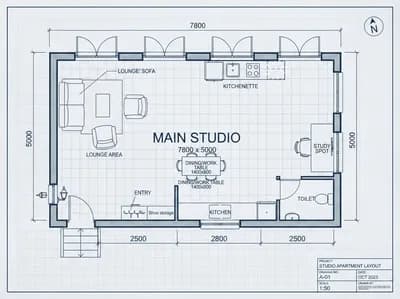
Create a photorealistic, publication-ready 3D interior render of the open-plan kitchen-and-dining area identified by the red-lined frame in the supplied floor plan, using the supplied kitchen and dining photographs as authoritative spatial and architectural references. Remove the partition and door between the rooms to form one continuous open floor space while respecting the existing room proportions, openings, beam relationship, and exactly three windows: two in the dining area and one in the kitchen area. Maximize natural daylight from all three windows. Use continuous hexagonal terracotta tile flooring across the combined area, matching the supplied tile character. Add dado-height wooden wall panelling on the lower walls, with its top approximately aligned to the existing radiator height; use cream-painted walls above and cream window frames. Add a dropped ceiling 15 cm below the existing beam, clearly suitable for integrated lighting and concealed building services, with provision for a future range-hood exhaust duct above the eventual stove location. Do not finalize a detailed kitchen equipment layout; focus on the architectural transformation, finishes, daylight, and open-plan spatial concept. Warm traditional European renovation, believable materials, natural perspective, coherent neutral furnishings, daylight, high-quality architectural visualization. Negative constraints: Watermarks, logos, labels, captions, overlays, diagrams, infographics, incorrect perspective, distortion, low resolution, unintended extra openings or windows, altered beam relationship, split-screen, multi-panel layout, comparison board, option labels, finalized detailed kitchen equipment layout, people, pets, CGI-like artifacts.