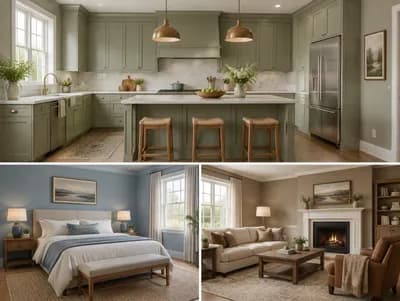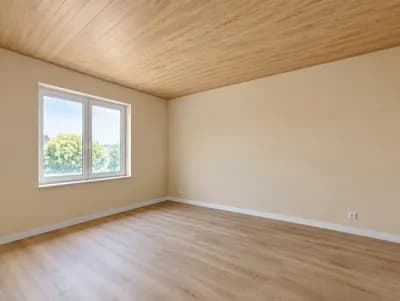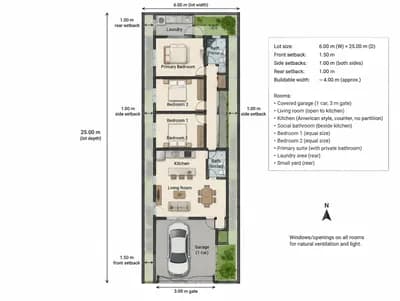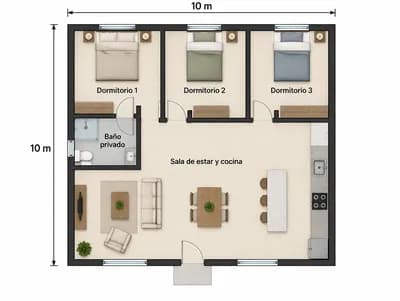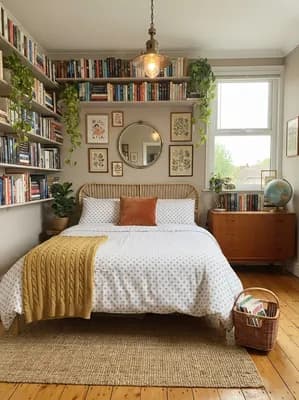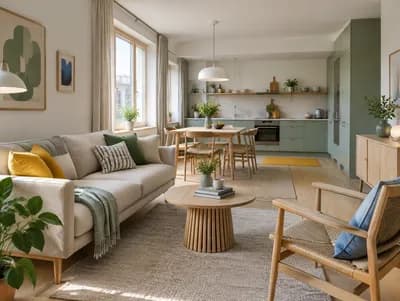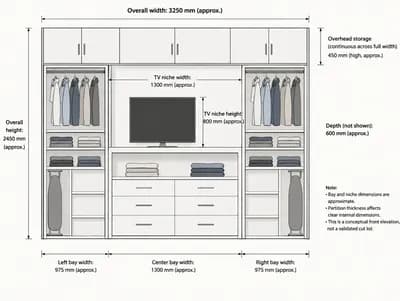
Efficient Layout for Narrow Residential Space
Find products from this interior
Lighting, furniture, and decor - with prices and links to stores

Design Brief
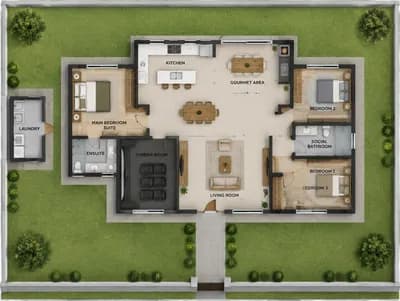
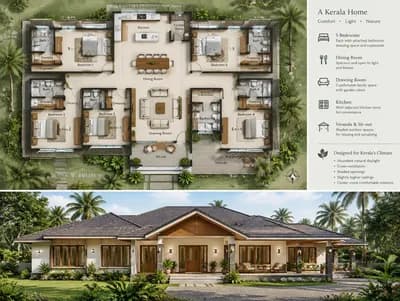
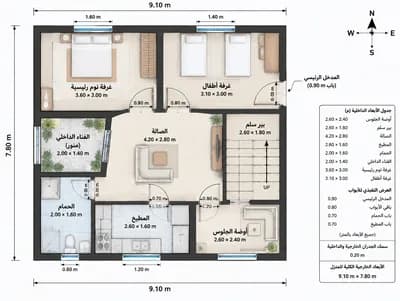
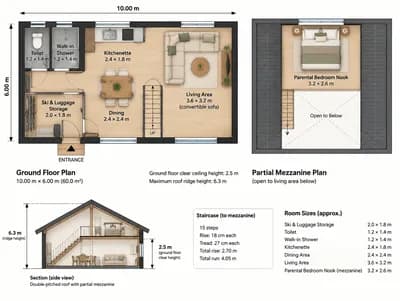
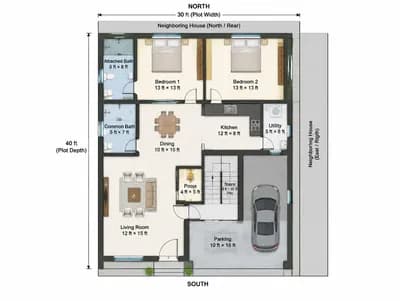
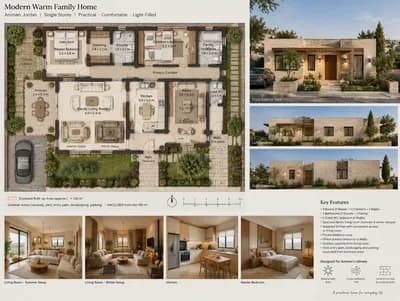
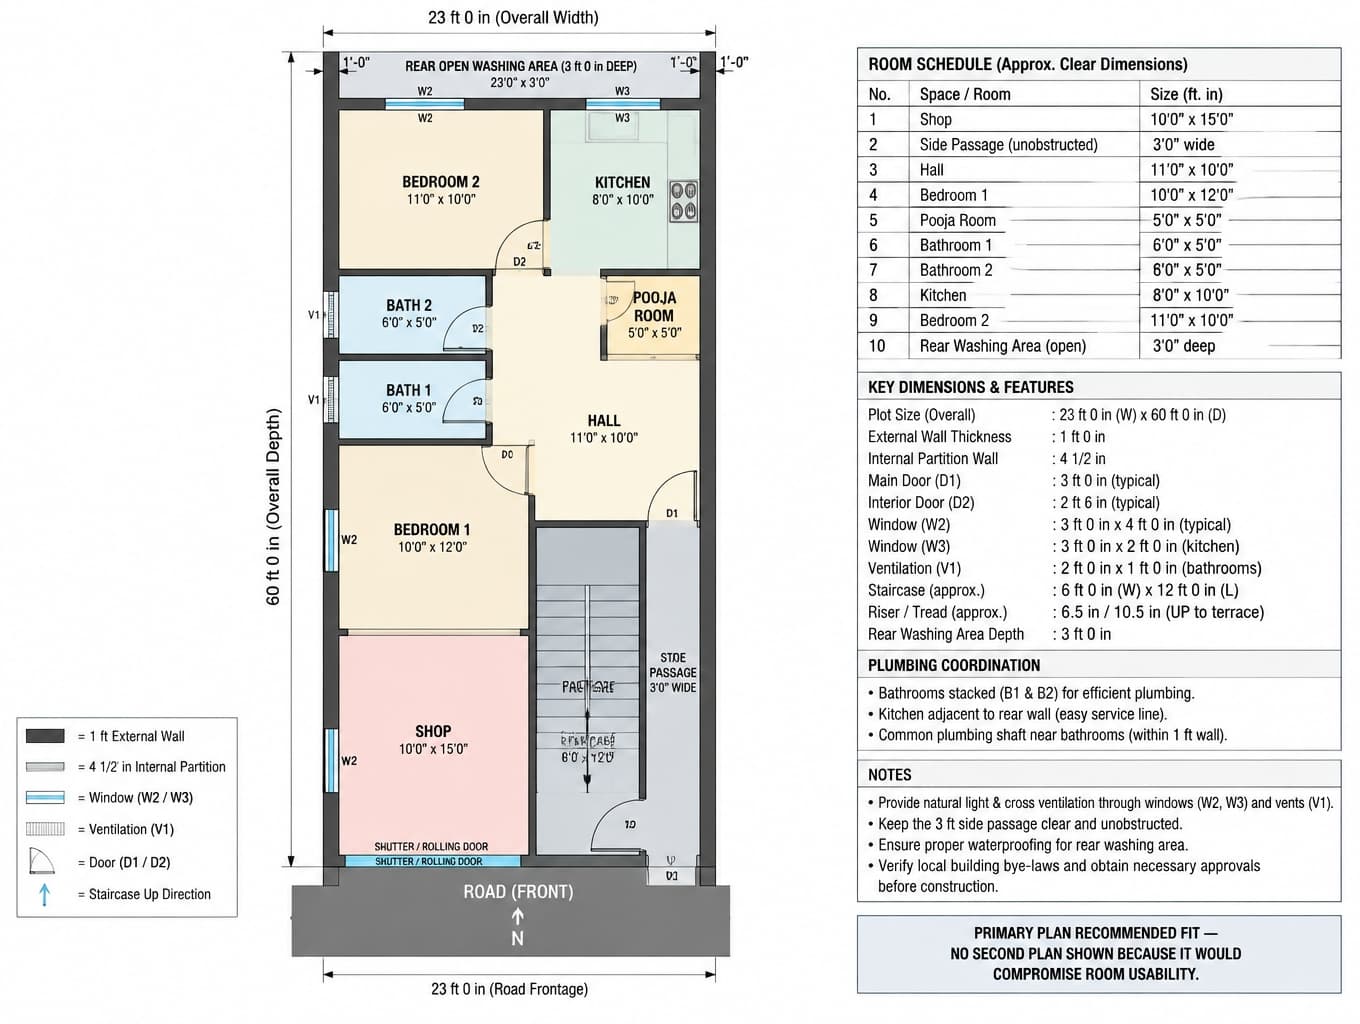
Create a clear, practical, construction-oriented 2D top-view architectural floor-plan graphic for a narrow Indian ground-floor residential plot, conceptual and not code-approved. Perform a dimensional fit check and show the complete outer rectangle exactly 23 ft 0 in wide by 60 ft 0 in deep, including exactly 1 ft 0 in thick external walls; do not exceed the boundary. Show the road along the full 23 ft front edge, with north/road/front indication. Use dimension strings in feet and inches, labeled spaces, door swings, windows, ventilation openings, wall thickness callouts, open spaces, and circulation. Required arrangement: at the front, a 10 ft 0 in wide by 15 ft 0 in deep shop with direct road access, alongside a continuous unobstructed 3 ft 0 in wide side passage running from the front toward the house entrance. Label the passage exactly and show the main house door opening from it without conflict with the shop or house entrance. Include a hall immediately after the main entrance, 1 kitchen, 2 bedrooms, 2 bathrooms, a 5 ft 0 in by 5 ft 0 in pooja room, and a safe practical staircase to the terrace. Prefer a sensible front-to-rear sequence of shop/front access, hall, bedroom 1 and/or pooja, bathrooms and kitchen, bedroom 2, then a 3 ft 0 in deep rear open washing area arranged horizontally if feasible. Optimize privacy, ventilation, comfortable proportions, and efficient circulation. Place the staircase preferably near the front/side passage if it preserves the hall and bedrooms; show its footprint, approximate width, riser/tread direction arrow, and terrace access. Include a compact, buildable room schedule on the drawing with approximate clear dimensions in feet and inches. Clearly distinguish 1 ft external walls from 4 1/2 in internal partition walls. Label passage width, shop dimensions, rear washing-area depth, practical door widths, windows, ventilation openings, and wet-area plumbing coordination. Add concise notes for natural light/ventilation and grouped plumbing. Avoid decorative presentation, perspective, furniture-heavy styling, or invented extra rooms. Make all text legible and the drawing construction-oriented. Include a clearly separated small inset titled “ALTERNATIVE LAYOUT” only if a genuinely viable second arrangement fits within the same exact 23 ft 0 in by 60 ft 0 in boundary without compromising room usability; otherwise include a clearly visible note stating: “PRIMARY PLAN RECOMMENDED FIT — NO SECOND PLAN SHOWN BECAUSE IT WOULD COMPROMISE ROOM USABILITY.” Ensure the primary plan remains the dominant drawing. Use a clean professional architectural graphic, orthographic top view, consistent scale cues, realistic wall representation, and high legibility. Negative constraints: No perspective view, no 3D rendering, no decorative styling, no furniture-heavy plan, no invented rooms, no people or pets, no plot-boundary violations, no inconsistent dimensions, no wall thickness confusion, no blocked side passage, no conflicting entrances, no missing required rooms, no missing staircase, no illegible text, no watermark, logo, labels outside the drawing, captions or overlays unrelated to the plan, no diagrams or infographics, no split-screen or comparison-board layout except the explicitly requested small separated alternative-layout inset, no distortion, no incorrect perspective, no low-resolution artifacts.